By Kent Yang | Staff Writer

Have you ever wanted to dive into the world of photography but felt held back by the cost? While it’s true how every few years there’s new state-of-the-art equipment on the market with the latest and greatest technology, buying used equipment is a cost-effective way to maximize value without compromising performance. While older gear may lack the latest features, they were once top-of-the-line and can still produce excellent images. Many people believe the misconception that you need to spend hundreds or even thousands of dollars on gear to get good images. Well, I’m here to tell you that’s not the case. In fact, you can spend less than $100 and still capture stunning images. This guide will show you how to get started with affordable gear, and I’ll share tips for practicing your skills without breaking the bank.
Step 1: Start with Affordable Used Gear.
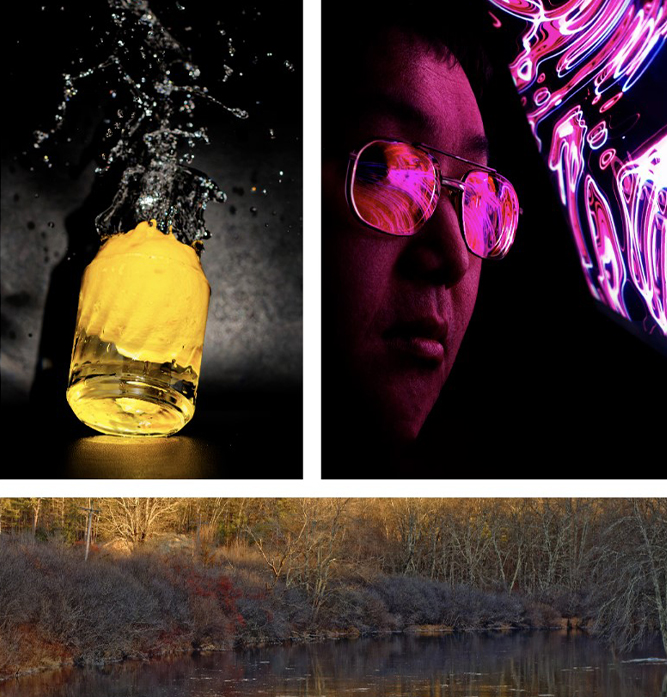
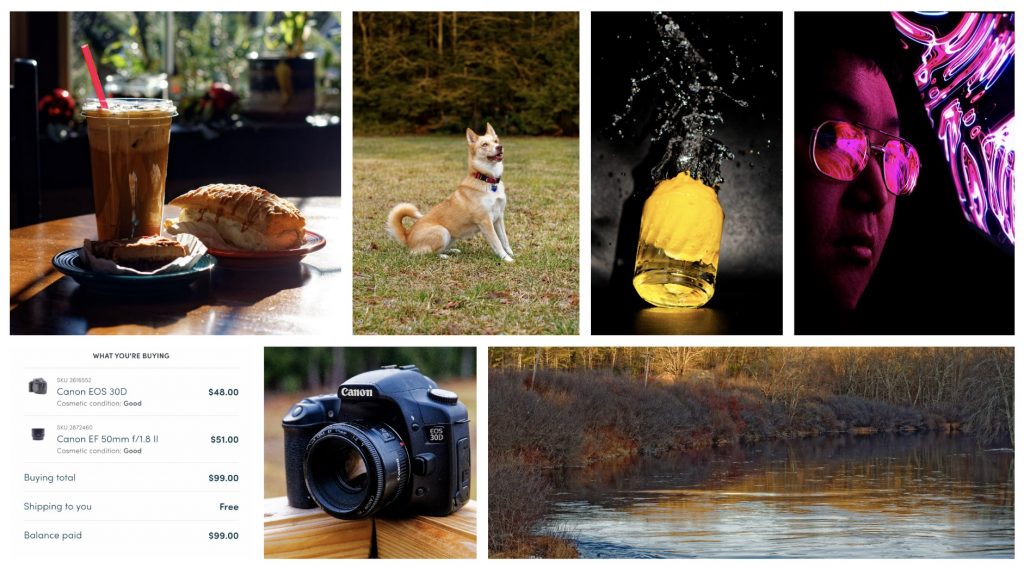
One of the best ways to get into photography on a budget is by buying used equipment. For this article, I spent less than $100 to showcase what’s possible with gear from 2006: a Canon EOS 30D and a Canon EF 50mm f/1.8 II lens, which also included a memory card, battery, and charger. Back in 2006, the 30D was marketed towards both consumers and professionals at a MSRP of $1,399. The Canon EF 50mm f1.8 II lens was released in 2014 and MSRP at $125. Today, you can find both for $99 on MPB.com, a New York-based retail store selling used photography gear.
Here’s my recommendation for when buying used gear:
– Camera Bodies: Check for cosmetic damage and ensure the buttons and dials work properly. Look for damage on the mirror and viewfinder. Pay attention to the shutter count, which indicates how many photos the camera has taken. Aim for purchasing a camera with shutter count below half of its rated maximum shutter count – they’re like miles on an engine.
– Lenses: Inspect for cracks, mold, or haze on the front and rear element of the lens. If there’s cracks, mold, or haze on the glass, I will avoid it because it can interfere with your image. Test the autofocus motor if the lens has one. Most beginners start out either with a kit lens or a 50mm because they’re affordable and produce images sharp enough to the untrained eye.
Websites like MPB.com, KEH.com, and eBay often have great deals on used gear. Just make sure to buy from reputable sellers or platforms that will insure your purchase. You can start with any camera manufacturer, but I recommend Canon because its EF platform, introduced in 1987, has been around for a long time. This means you can easily find affordable camera bodies and lenses. For under $100, I purchased the Canon 50mm f/1.8 II, but there are other budget-friendly lens options you can pair with a Canon 30D. Some examples include the Canon EF 28-80mm f/3.5-5.6, Canon EF 28-80mm f/3.5-5.6 II, and Canon EF 70-210mm f/4, all of which can be found for around $40 each on eBay.
And then we have two Pentax lenses that utilize M42 mounts.They are the Pentax Super Takumar 50mm f/1.4, Pentax Super Takumar 135mm f/3.5 which currently range from $40 to $50 each on ebay. However, you will need an M42-to-EF mount adapter, which costs around $10 on Amazon. Each focal length has its strengths, so think about what you want to shoot. Generally:
24mm to 35mm lenses work well for landscapes.
50mm to 100mm lenses can be used for general purpose shoots and portraits.
200mm and above is ideal for wildlife or sports.
Step 2: Understand Exposure (The Basics).
Learning how to control your camera’s exposure settings is key to producing quality photos. Exposure consists of three main components—aperture, shutter speed, and ISO—which determine how light interacts with your camera’s sensor. Here’s a quick overview:
– Aperture: Measured in f-stops, aperture controls the amount of light entering the camera through the lens. A wider aperture (lower f-stop number) lets in more light and creates a shallow depth of field. A smaller aperture (higher f-stop number) reduces light and increases depth of field.
– Shutter Speed: This controls how long the shutter stays open. A fast shutter speed freezes motion, while a slower shutter speed allows for more light but can introduce motion blur.
– ISO: ISO determines the sensor’s sensitivity to light. A higher ISO brightens the image but can add noise (grain), so try to use additional light sources when shooting in low light.
Understanding these basics will allow you to shoot in manual mode and make the most of any camera you use.
Step 3: Practice.
Henri Cartier-Bresson, a renowned French photographer, once said, “Your first 10,000 photographs are your worst.” The message? Practice is essential. As you progress in this field, your photos should get better and better. Here are some cost-free ways to hone your skills:
– Shoot Daily: Dedicate at least 30 minutes a day to photographing anything that interests you. Experiment with different settings and lighting conditions.
– Join Communities: Social media groups and forums are great places to get feedback on your work. Look for groups dedicated to beginner photographers for supportive and constructive advice.
– Volunteer: Offer to take photos at community events or for friends and family. This provides real-world practice without the pressure of paid gigs. I don’t recommend shooting major events like weddings as a beginner because you can potentially ruin the wedding or your own career with bad or mediocre photos.
Step 4: Use Free or Affordable Resources.
You don’t need expensive courses to learn photography. There are countless free tutorials, videos, and articles available online. Be cautious of outdated advice, but don’t hesitate to look into beginner-friendly content.
For editing, free software like GIMP, Rawtherapee, and Darktable can help you process your images without investing in costly programs like Adobe Photoshop & Lightroom. If you prefer to pay for programs with a one-time fee instead of a subscription, you can look towards DxO PhotoLabs.
Getting into photography doesn’t have to cost a fortune. By purchasing used gear, learning the basics of exposure, and committing to regular practice, you can start capturing professional grade photos while on a budget. Remember, photography isn’t about having the most expensive tools; it’s about resourcefulness, imagination and making the most of what you have. I’d like to argue that $100 is obtainable to most people but, even if $100 or about 7 hours of working minimum wage ($15/hr in Massachusetts) doesn’t sound obtainable to you, don’t let cost keep you from unlocking a world of creativity and self-expression.
The best camera, as the saying goes, is the one you have with you. With how far technology has advanced, you can even practice the basics of photography on your smartphone. For aspiring professionals and hobbyists alike, don’t be afraid or feel embarrassed to take out your camera and start shooting.
You are your own brand. No one is going to advocate about you more than you. So get out there and start your photographic journey.

Comments are closed.